How to make a DIY Bullet Journal | Binder Style

Binder system versus a bounded notebook
Why a binder system versus a bounded notebook? A bullet journal binder allows you to print templates and add different kinds of paper, such as a watercolor paper cover and vellum tabs. You can also keep your stickers in binder pouches and keep your ruler handy with one within the system. Choosing between a bullet journal binder system and a traditional bullet journal notebook will depend on the goals you'd like to achieve.
Free Printable Reference

Want to make things simpler? Download this free printable!
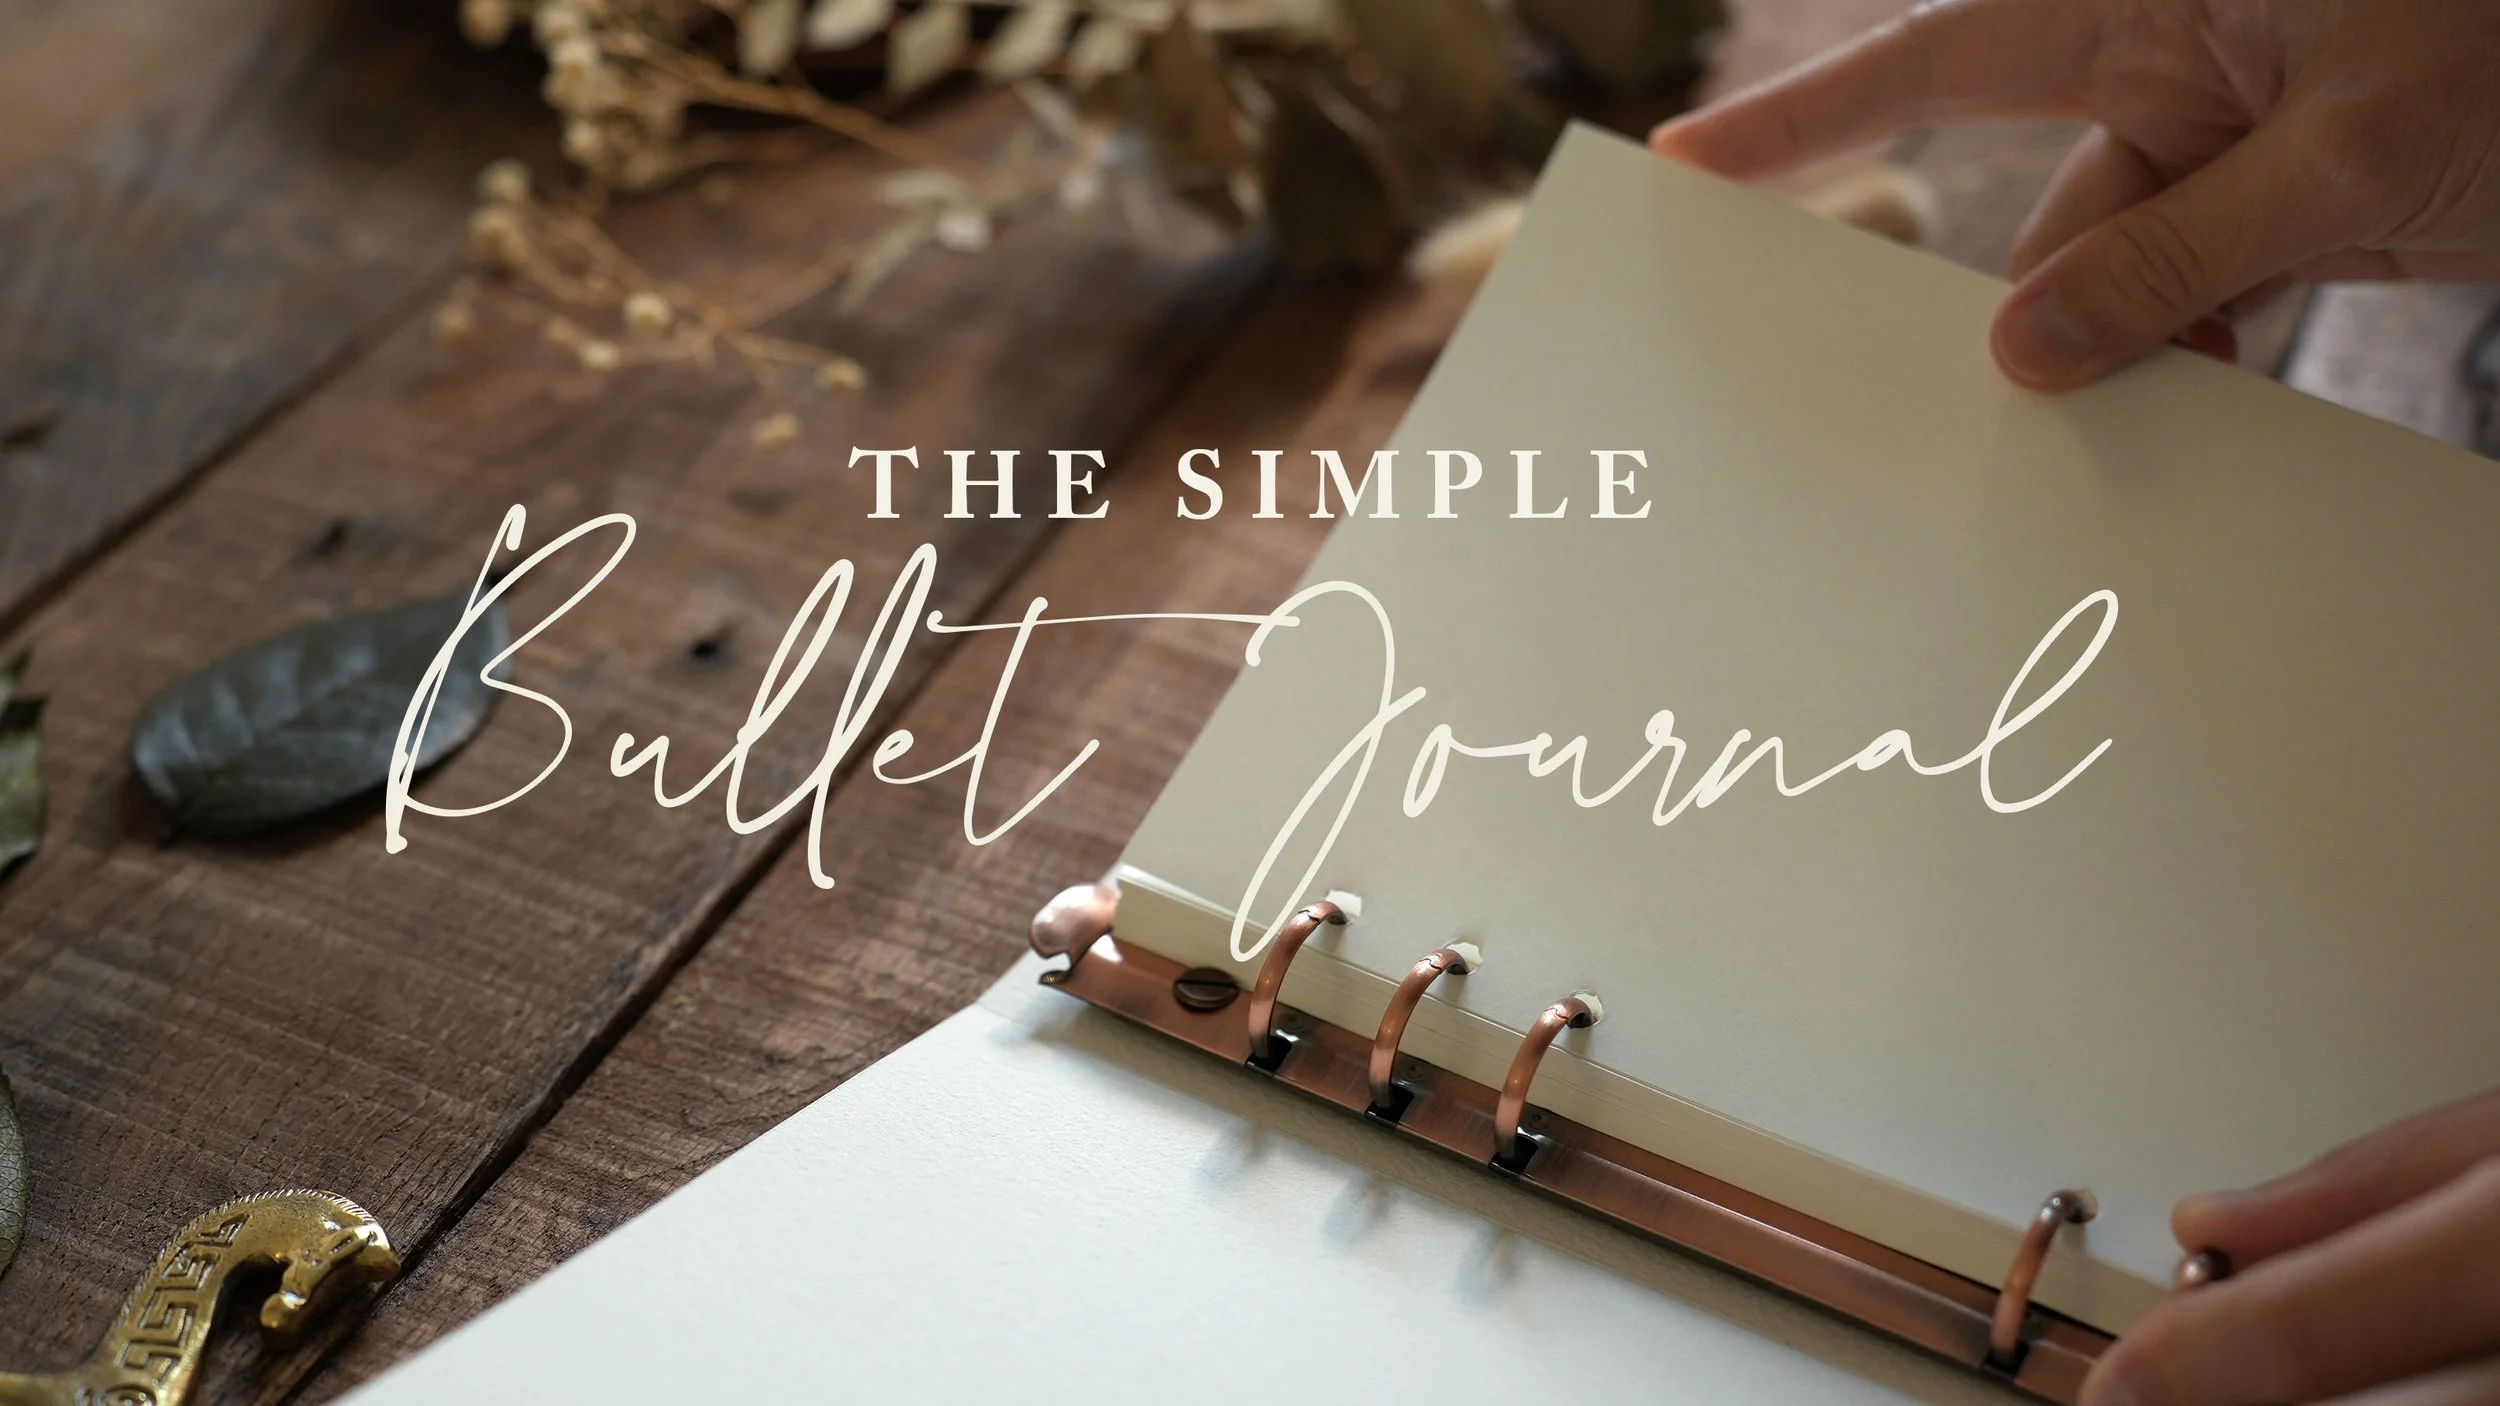
How to make a A5 bullet journal binder
Follow the process in my tutorial below for all the extra details to make it beautiful or scroll down and follow the simple steps! I’m making an A5 sized bullet journal binder, but you can choose another size that suits you! (You’ll just need to figure out the cover size on your own.=)
Basic Supplies:
Sturdy cover paper (I used Arches cold pressed watercolor paper)
Mat or Xacto Knife
Ruler
Pencil
Optional: Stamp, Embossing powder, Heat gun, and 1/4 Rounded corner tool
These are affiliate links, which means if you use them, it'll support my work and me as I make more helpful and meaningful content.

Step 1 - The cover
If you already have cover paper, skip to step 2. To make the cover, use double-sided tape to attach two pieces of Arches cold-pressed watercolor paper. Make sure there are no gaps in the tape, and cover the paper from edge to edge. Then press both pieces together.


Step 2 - Measure and cut
Measure and cut. Cut cover to 9 1/8-in by 14 3/4-in or 23.17 cm by 37.45 cm.


Step 3 - Mark Center Spine
Find the center of the cover. Measure 1/2-inch from either side and put a small mark on top and bottom to make a 1-inch spine. Tip: Don't draw a complete line, or else you can't erase it after you make the fold lines.
Step 4 - Fold lines
Use a bone folder to create a fold on the inside of the cover. Place a ruler from the top mark to the bottom and press the bone folder firmly to create a crease. Repeat to the other side of the spine. You'll have 2 fold lines.

Step 5 - Lightly cut outside lines
If you can't fold the lines lightly, run your knife across the fold lines from the outside of the cover. Make a light cut, and then try folding it. Tip: Put little to no pressure on the knife and let the gliding motion make the cut.

Step 6 - Make the holes
Center the binder mechanism in the center of the spine. On the inside of the cover, mark the holes where the screws go by using a pencil. Use the knife to cut the holes. Tip: Keep the binder mechanism from being too loose by keeping the holes smaller; only enough to place the screws through.

Step 7 - Finishing
Attach the binder mechanism and tighten the screws. That's it!

Free Printable Reference Sheet
I created a free printable (letter-sized) that includes the instructions, extra tips, and measurements for your reference and I linked this in the description and there’s space for you to add your own notes too. I know when I work, I need to triple check measurements and having a printable right there when you’re making this makes the process more manageable.
